
Turning a Bowl from a Faceplate Blank: A Beginner's Guide
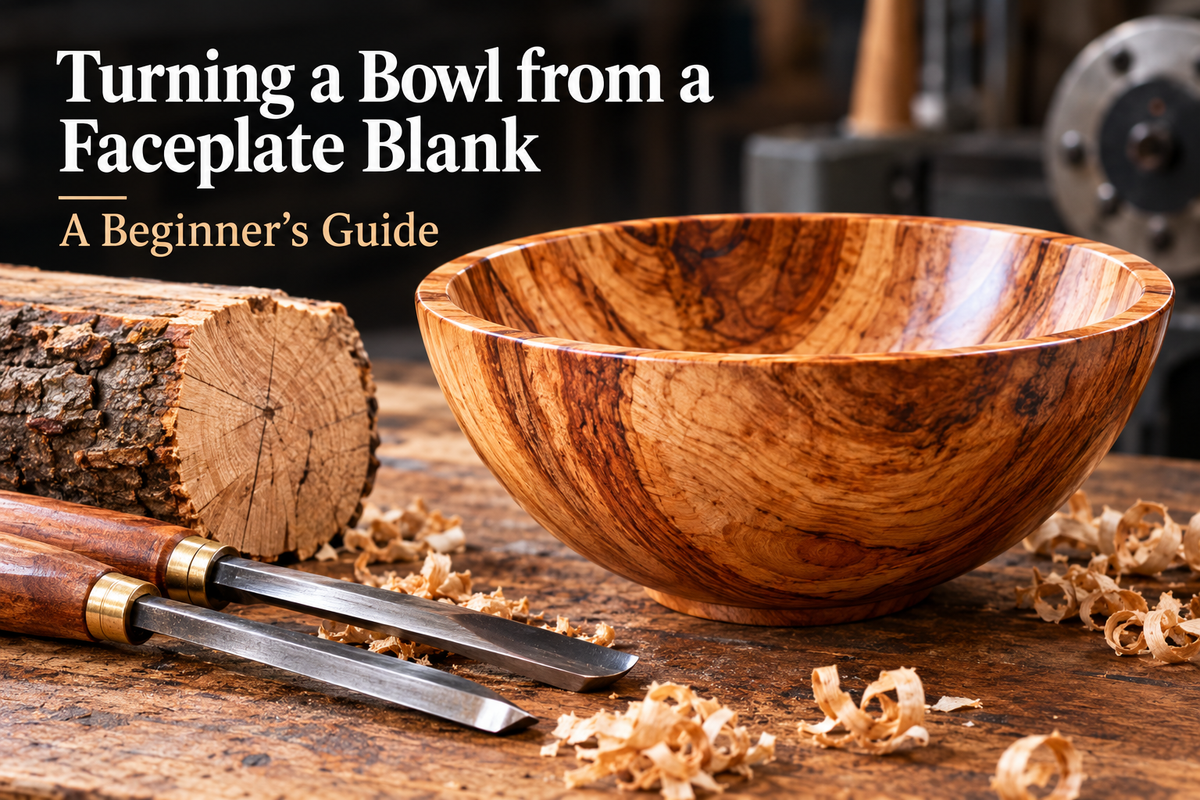
Turning a Bowl from a Faceplate Blank: A Beginner's Guide
Written by Ty Hayes, Arborean
Few woodturning projects are as satisfying as turning a bowl. Starting with a rough bowl blank and ending with a finished piece showcases the beauty of the timber while teaching fundamental turning skills that apply to many other projects.
In this guide, we'll cover the entire process from mounting the blank on a faceplate through to finishing a food-safe bowl.
Selecting and Preparing the Blank
For beginners, a pre-cut bowl blank is ideal.
Inspect the blank for:
- Cracks
- Loose knots
- Bark inclusions
- Checks or splits
Mark the centre of the blank and determine which face will become the top and bottom of the bowl.
Generally:
- The bark side becomes the rim
- The pith should be avoided if possible
Mounting the Blank on a Faceplate
The safest and most secure way to start bowl turning is using a faceplate.
Faceplate Mounting
- Flatten the mounting surface.
- Attach the faceplate using suitable wood screws.
- Ensure screws are long enough for a secure hold.
- Check that screw length will not interfere with later hollowing.
Bring the tailstock up for additional support whenever possible.
This is especially important while roughing the blank into shape.
Turning the Outside of the Bowl
With the blank rotating, begin shaping the exterior.
The Bowl Gouge
The bowl gouge is the primary tool used for bowl turning.
A typical bowl gouge:
- ⅜" to ½" for smaller bowls
- Fingernail or Irish grind
- Sharp edge maintained frequently
Sharp tools make bowl turning safer and easier.
Using the Bowl Gouge Correctly
One of the most important lessons for beginners is understanding that the gouge has both:
- A cutting edge
- A bevel (tool surface)
The bevel guides the cut.
The cutting edge performs the cut.
A common mistake is trying to force the cutting edge into the timber without supporting it on the bevel.
Think:
Rub the bevel first, then lift the handle until the tool begins to cut.
When used correctly:
- Cuts are controlled
- Surface finish improves
- Tearout is reduced
- Catches are less likely
Best Direction for Cutting the Outside
For the outside of a bowl, the preferred cut is generally:
From the foot toward the rim.
This produces a downhill cut relative to the wood fibres.
Basic Process
- Anchor the tool on the toolrest.
- Rub the bevel.
- Open the cut gradually.
- Sweep toward the rim.
Use fluid body movement rather than moving only your arms.
Good bowl turning is often described as moving your body while the tool simply follows.
Creating a Chucking Recess or Tenon
Before removing the faceplate, create a holding point for the scroll chuck.
You have two options:
Chucking Recess
A recess is expanded into by the chuck jaws.
Advantages:
- Often preferred for platters
- Minimal material removal
Chucking Tenon
A tenon is gripped by the jaws.
Advantages:
- Very strong hold
- Ideal for deep bowls
- Often preferred by beginners
Sizing the Tenon Correctly
A common mistake is making a tenon too large.
The tenon should:
- Match the manufacturer's recommended jaw diameter
- Have flat shoulders
- Provide full jaw contact
The chuck should grip cleanly across the jaw faces.
Avoid gripping only the jaw tips.
Shaping the Exterior
Before turning the bowl around, create the complete outside profile.
Most bowls look best when the curve flows naturally from rim to foot.
Avoid:
- Flat spots
- Sharp transitions
- Excessively large feet
Look for a continuous curve that feels balanced and elegant.
Should the Outside Be Finished Before Hollowing?
In most cases, yes.
This is generally considered best practice.
Why Finish the Outside First?
The outside profile is fully accessible while mounted on the faceplate.
Benefits include:
- Easier sanding
- Better visibility
- Less vibration
- Reduced risk of damaging a finished interior
A common workflow is:
- Shape exterior.
- Sand exterior.
- Apply first finish coats.
- Reverse onto chuck.
- Hollow interior.
- Sand interior.
- Apply final finish.
Many professional turners complete virtually all exterior sanding and finishing before the bowl is reversed.
Reversing the Bowl into the Chuck
Remove the faceplate.
Grip the tenon or expand into the recess using your scroll chuck.
Bring up the tailstock initially to verify secure mounting.
Spin the bowl by hand before starting the lathe.
Check for:
- Clearance
- Balance
- Secure holding
Hollowing the Bowl
Now the inside can be shaped.
Work From the Rim Toward the Centre
For most bowl turning, the preferred approach is:
Outside shaped first, then hollow the inside from rim to centre.
Reasons include:
- Better wall thickness control
- Improved support from surrounding timber
- Reduced vibration
- Better visibility
Trying to hollow from the centre outward often creates difficult grain conditions and less efficient cuts.
Bowl Gouge Technique on the Inside
The inside cut differs from the exterior.
The handle is often lower, and the flute position changes through the cut.
The key principles remain the same:
- Rub the bevel
- Present the edge gradually
- Let the sharp tool do the work
Take a series of progressively deeper cuts.
Do not attempt to hollow the entire bowl in one pass.
Using the Wing and Edge of the Gouge
Many beginners hear the term "cutting on the wing."
This refers to using the side portion of the swept-back grind.
When used correctly:
- Produces cleaner shear cuts
- Leaves improved surface finish
- Reduces sanding
Shear Cutting
The tool is presented at an angle.
The cutting edge slices rather than scrapes.
Think of it like slicing bread with a knife rather than chopping straight down.
The wood fibres are severed cleanly and efficiently.
Scraping vs Cutting
A scraper can be useful but should not be the primary shaping tool.
Cutting
- Cleaner surface
- Less tearout
- Better finish
- Requires less sanding
Scraping
- Useful for final adjustment
- More tearout
- Rougher surface
Most experienced turners aim to achieve the final shape using cutting cuts rather than relying heavily on scraping.
Sanding the Bowl
Sand while the bowl remains on the lathe.
Typical progression:
- 80 grit (if required)
- 120 grit
- 180 grit
- 240 grit
- 320 grit
- 400 grit
Do not move to the next grit until scratches from the previous grit are removed.
Reducing lathe speed during sanding helps prevent heat damage and swirl marks.
Food-Safe Finishes
One of the most common questions is whether a finish is food safe.
Once fully cured, many finishes are considered safe for incidental food contact.
However, several finishes are particularly popular for bowls.
Mineral Oil
Advantages:
- Easy application
- Food safe
- Simple maintenance
Disadvantages:
- Requires regular reapplication
Best suited to:
- Utility bowls
- Salad bowls
Walnut Oil
A favourite among many turners.
Advantages:
- Food contact suitable
- Penetrates timber
- Enhances grain
Apply multiple coats and allow curing between applications.
Hard Wax Oils
Some hard wax oils are approved for food-contact surfaces.
Advantages:
- Durable
- Water resistant
- Natural appearance
Always check the manufacturer's recommendations.
Beeswax and Oil Blends
Popular for decorative bowls.
Advantages:
- Warm appearance
- Easy repair
Disadvantages:
- Lower durability
- Requires maintenance
Finishing the Bottom
Once the interior is complete, the tenon or recess must be removed.
Common methods include:
- Cole jaws
- Jumbo jaws
- Vacuum chuck
- Jam chuck
The base can then be refined and finished to match the remainder of the bowl.
A signed and dated base gives the project a professional touch and helps document your progression as a woodturner.
Final Thoughts
For most bowl projects, the recommended sequence is:
- Mount on faceplate.
- Shape the outside.
- Create the chucking tenon or recess.
- Sand and finish the exterior.
- Reverse onto the chuck.
- Hollow the interior from rim to centre.
- Sand and finish the interior.
- Reverse again to remove the tenon and finish the base.
The biggest improvement most beginners can make is learning to use the bowl gouge as a cutting tool rather than a scraping tool. Focus on bevel-supported cuts, keep the gouge sharp, and let the edge slice the timber. You'll achieve cleaner surfaces, spend less time sanding, and enjoy the turning process much more.

More from the Journal
 beginner
Turning a Bowl from a Faceplate Blank: A Beginner's Guide
Turn a rough timber blank into a finished bowl with this beginner’s guide. Learn how to mount a b...
Read article → beginner
Making a Slimline Pen: A Beginner's Guide to Pen Turning
Make your first slimline pen with this step-by-step beginner’s guide. Discover the tools and mate...
Read article → beginner
Preparing a Pen Blank: From Selection to the Lathe
A well-prepared blank is the foundation of every great pen. This step-by-step guide walks you thr...
Read article →