Preparing a Pen Blank: From Selection to the Lathe
Preparing a Pen Blank: From Selection to the Lathe
Before a pen blank ever touches the lathe, the preparation work you do determines the quality of everything that follows. A well-prepared blank turns cleanly, fits the hardware precisely, and finishes beautifully. A poorly prepared one leads to frustration, wasted material, and assembly problems that are difficult to fix.
This guide walks through every step of pen blank preparation — from choosing the right material to mounting it on the mandrel, ready to turn.
Step 1: Choose Your Blank
The blank is the heart of the pen. Everything else — the kit, the finish, the hardware — exists to showcase it.
When selecting a blank, consider:
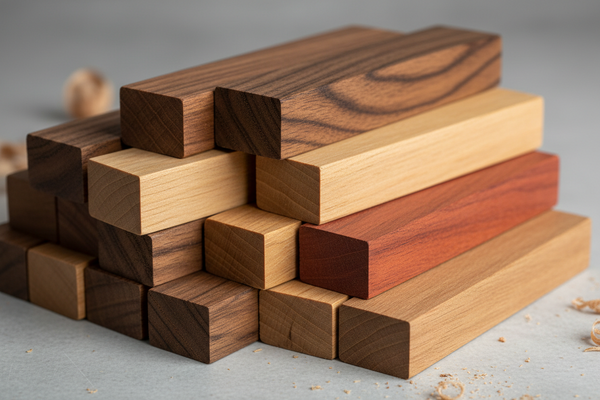
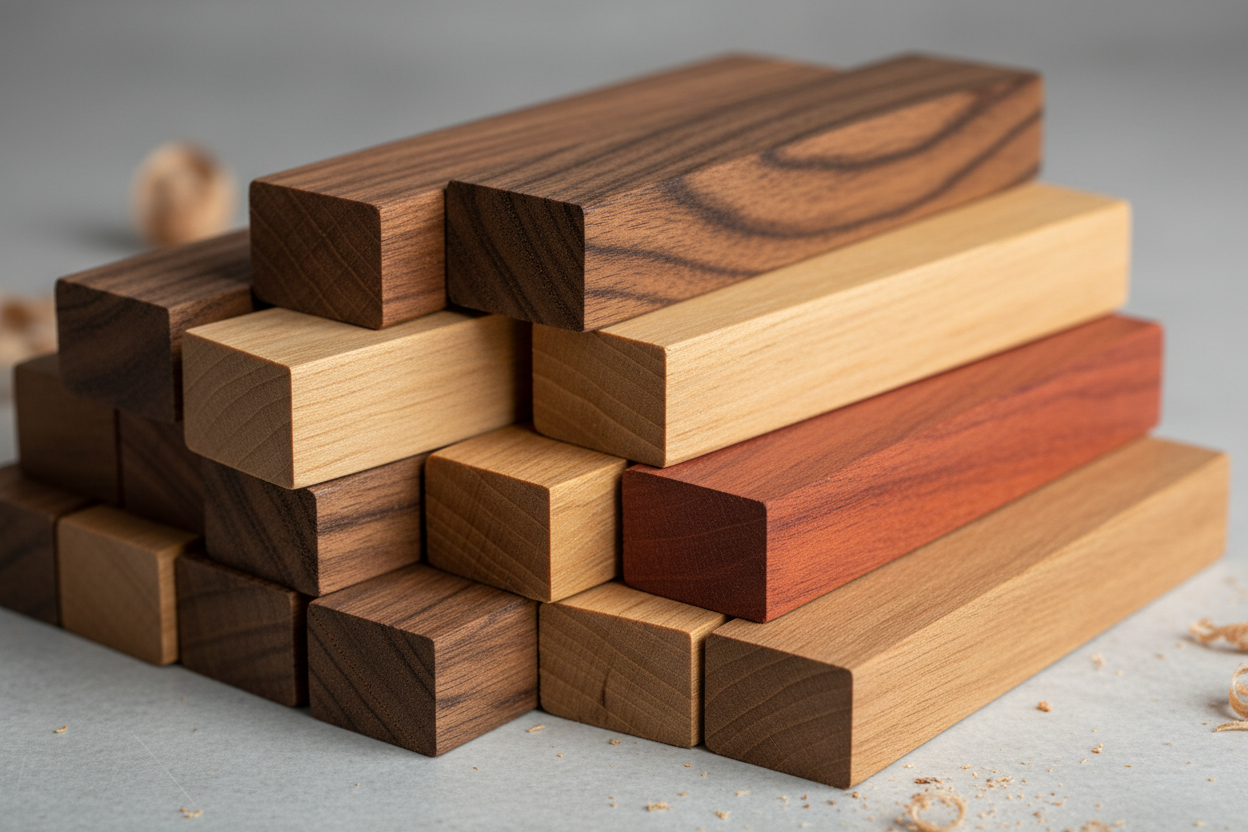
- Grain direction — for timber blanks, look for straight or interesting grain that will read well at pen scale. Highly figured grain, burl, or contrasting sapwood can produce spectacular results.
- Density — denser timbers like jarrah, blackwood, and rosewood turn cleanly and hold fine detail. Softer timbers require sharper tools and lighter cuts.
- Defects — small knots and checks can add character, but voids or cracks near the tube hole will cause problems. Inspect the blank carefully before drilling.
- Acrylic blanks — consistent, predictable, and available in a huge range of colours and patterns. They require slightly different technique on the lathe but are excellent for beginners.
Browse Arborean's acrylic pen blanks for a range of vibrant swirl patterns ready to turn.
Step 2: Cut the Blank to Length
Most pen kits use two barrel sections — an upper and a lower barrel. Each requires its own blank section.
Cut each blank section approximately 2–3mm longer than the brass tube it will house. This gives you material to square off after gluing without risking the blank being too short.
Use a fine-tooth saw or bandsaw for clean cuts. Acrylic blanks can chip if cut with a coarse blade — a slow, steady cut with a fine blade gives the best result.
If working with a timber blank that has a clear grain direction, mark the orientation before cutting so you can align the grain across both barrels during assembly.
Step 3: Drill the Blank
Accurate drilling is the most critical step in blank preparation. An off-centre hole creates uneven wall thickness, which leads to weak spots and an uneven profile when turning.
Use a brad point drill bit in the diameter specified by your pen kit. Brad point bits have a sharp centre spur that prevents wandering and outer spurs that cut a clean, splinter-free hole — essential for both timber and acrylic blanks.
Set up your drill press with the blank held securely in a vice or V-block. Drill slowly and withdraw the bit frequently to clear chips and prevent heat build-up, particularly in acrylic.
Key drilling tips:
- Always drill on a drill press — handheld drilling rarely produces a centred hole
- Use a backing board to prevent tear-out on exit
- For acrylic, use a slow feed rate and keep the bit cool
- Check the hole diameter with the brass tube before gluing — the tube should slide in with light resistance
Step 4: Glue in the Brass Tubes
The brass tube is the structural core of the pen barrel. It must be bonded securely to the blank before turning begins.
Roughen the outside of the brass tube lightly with sandpaper or steel wool to improve adhesion. Apply a thin, even coat of CA glue (cyanoacrylate) or two-part epoxy to the tube, then press it firmly into the blank until it is fully seated.
The tube should sit slightly below flush at both ends — this is intentional, as the ends will be squared in the next step.
Allow the adhesive to cure fully before proceeding. CA glue typically cures in minutes; epoxy may require several hours. Rushing this step is one of the most common causes of tube separation during turning.
Step 5: Square the Ends
Once the adhesive has cured, the ends of the blank must be trimmed perfectly square and flush with the brass tube.
A barrel trimmer (pen mill) is the standard tool for this task. It fits inside the brass tube and trims the blank end square in a single operation. A disc sander or sharp chisel can also be used with care.
Squaring the ends is non-negotiable. Even a slight angle will create a visible gap between the blank and the pen hardware during assembly. Take your time and check both ends of each barrel section.
Step 6: Mount on the Mandrel
With both barrel sections prepared, it’s time to mount them on the pen mandrel.
Thread the appropriate bushings onto the mandrel shaft, placing them between and outside the blank sections as specified by your pen kit instructions. The bushings define the finished diameter of each barrel — you turn the blank down until it is flush with the bushing surface.
Tighten the mandrel nut firmly but not excessively. Over-tightening can cause the mandrel shaft to flex, resulting in a barrel that is slightly tapered rather than straight.
With the blank mounted and the mandrel seated in the lathe, you’re ready to turn.
Common Preparation Mistakes
- Drilling off-centre — always use a drill press and secure the blank properly
- Cutting blanks too short — always leave 2–3mm extra length before squaring
- Rushing the glue cure — a tube that moves during turning will ruin the blank
- Skipping the squaring step — gaps between blank and hardware are almost always caused by unsquared ends
- Over-tightening the mandrel — causes shaft flex and tapered barrels
Ready to Turn
Thorough preparation is what separates a pen that assembles cleanly and looks professional from one that doesn’t. The time invested at this stage pays dividends at every step that follows — turning, sanding, finishing, and assembly all become easier when the blank is properly prepared.
Browse Arborean’s full pen making range for kits, blanks, mandrels, bushings, and drill bits — everything you need to get started or expand your workshop.